When the fiancé (now husband) and I moved into our second San Francisco apartment we acquired a little more space. And by more space I mean room for small chairs in our living room. Do you know what the rental market is like in SF? Let’s just say two bedrooms is a luxury!
//assets.pinterest.com/js/pinit.js“>
After reselling some overpriced Craigslist chairs I found these gems. Someone was cleaning out an old office space and selling two fabulous mid-century modern chairs for around $25. I felt like a thief as I crammed both chairs into our two-door Honda Accord.
The wood only had a few minor scratches so I decided I was too lazy to sand and re-stain properly. The wood was dry, but looked brand new following an olive oil rub down. You know kind of like refreshing your cutting board. Smear the suckers down with olive oil. Works like a charm!
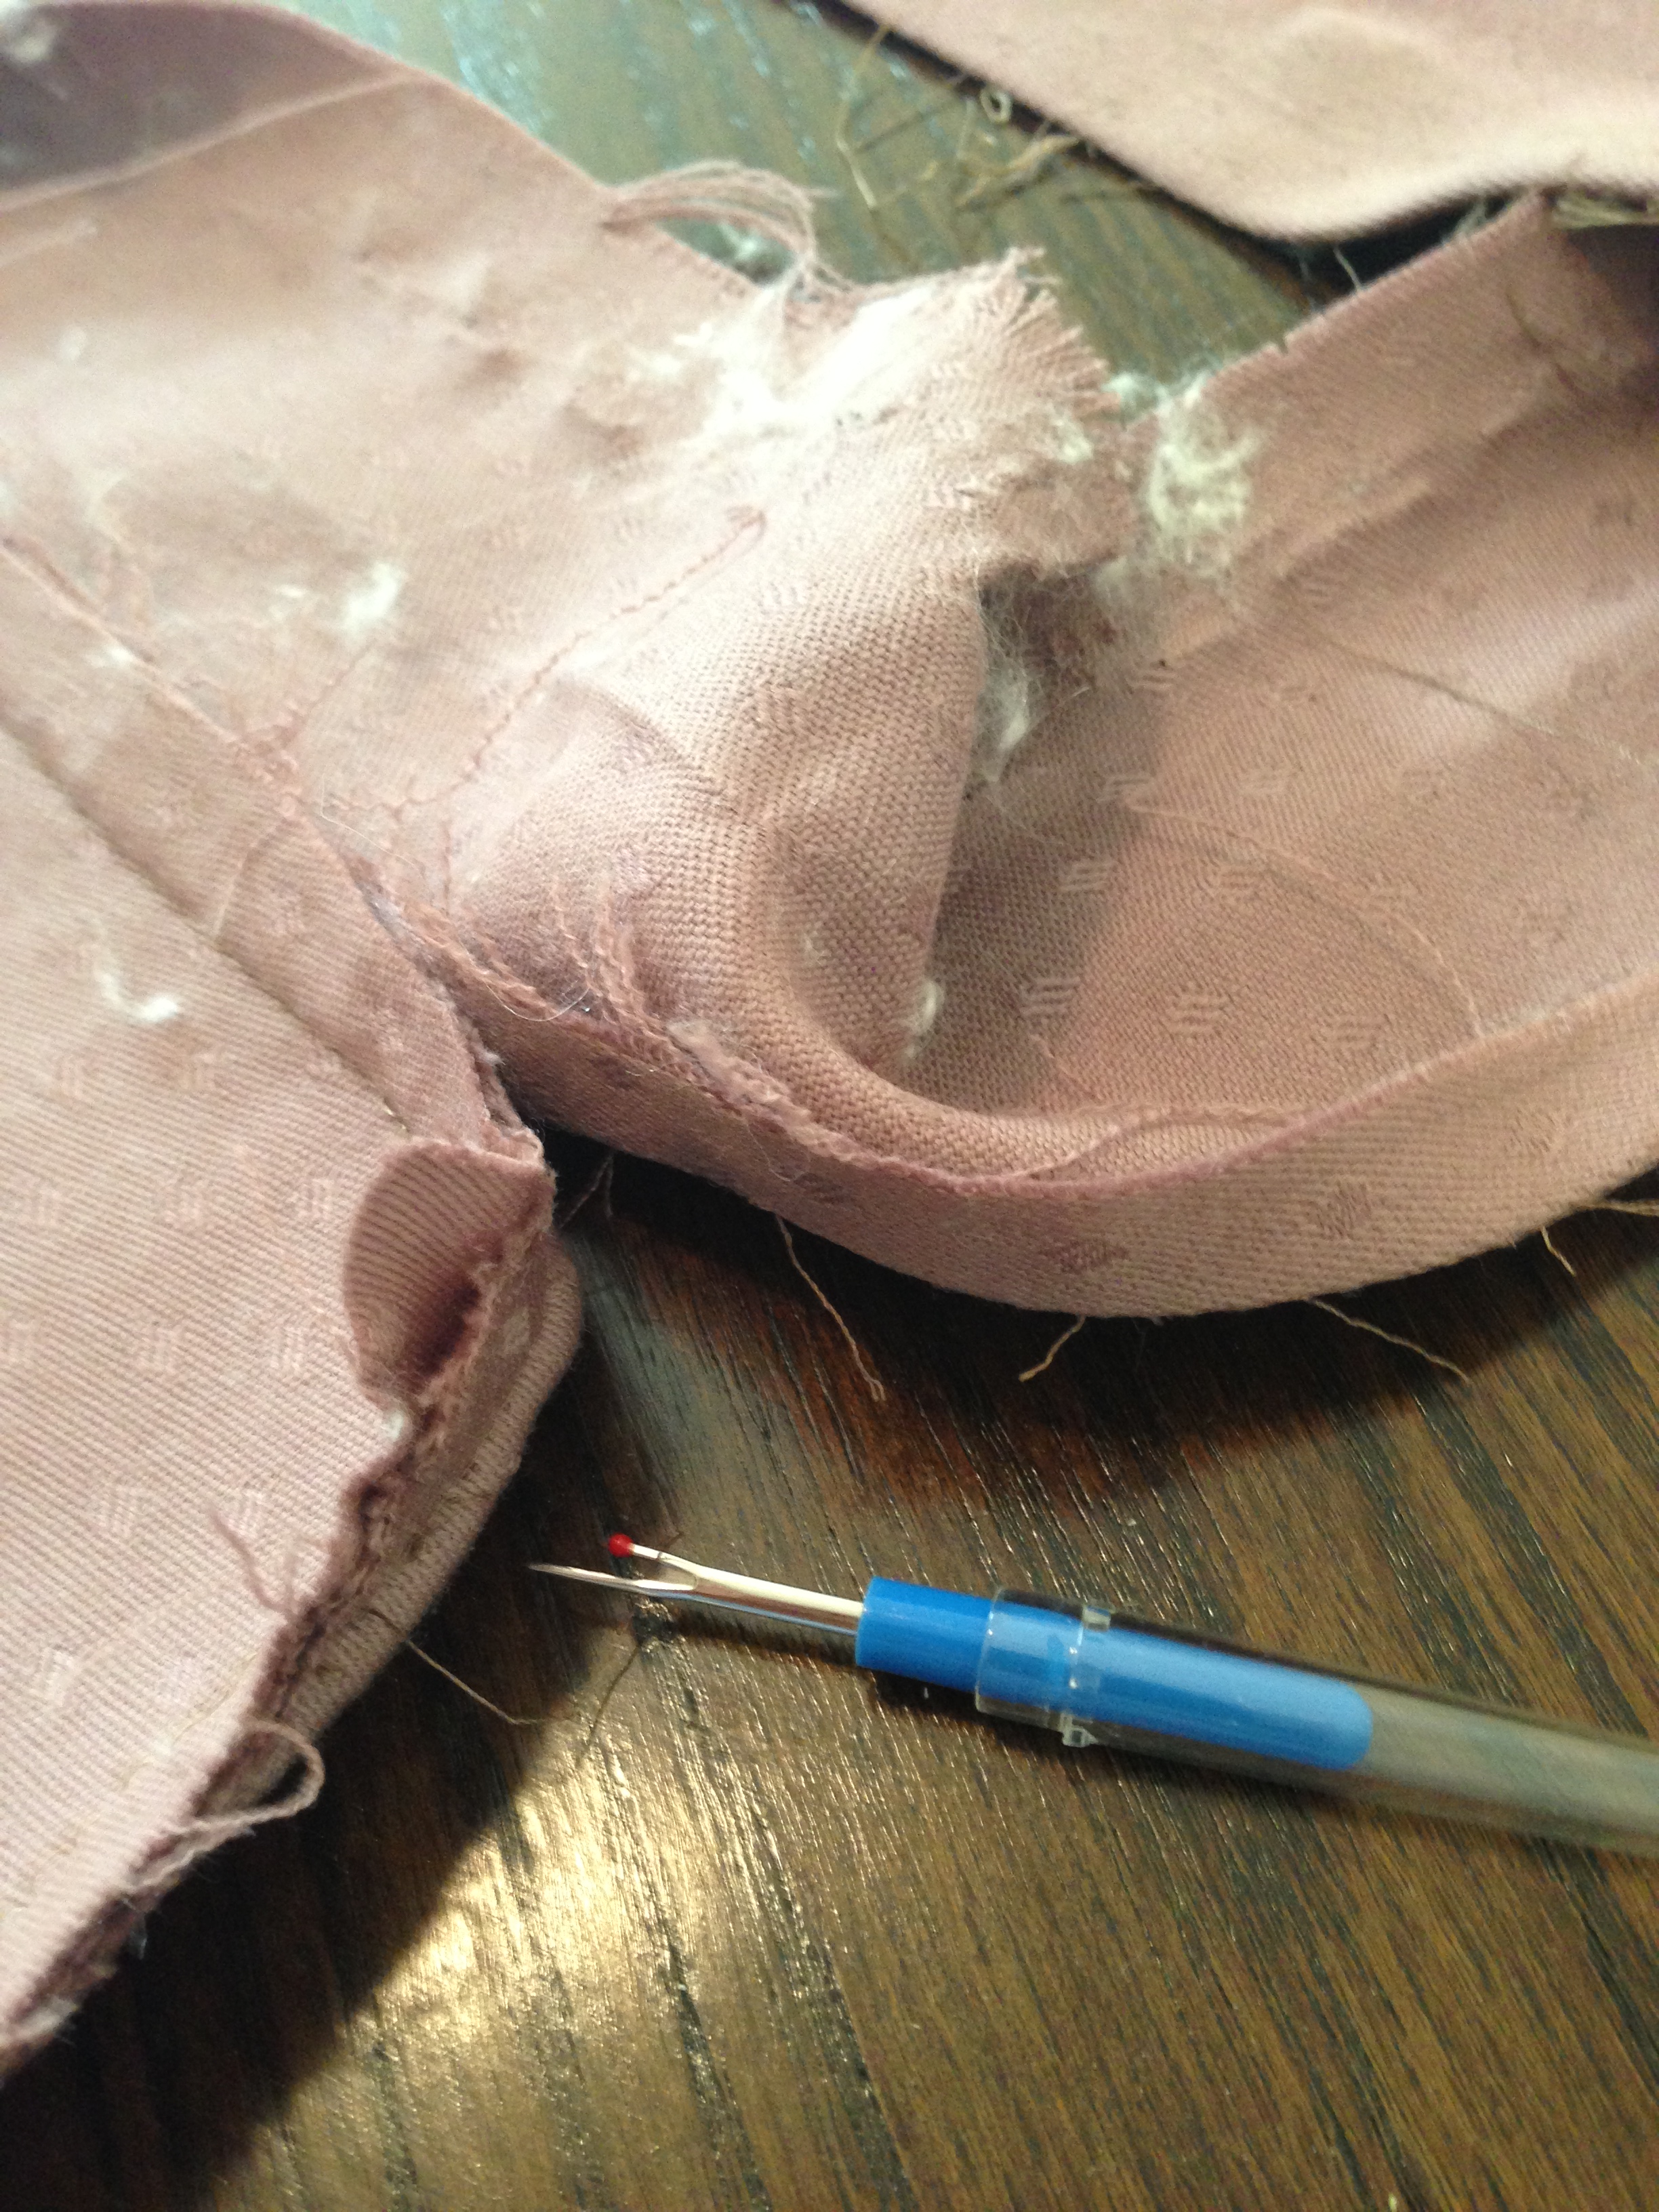
However, the upholstery left a little to be desired. Plus, if I can’t properly clean a Craigslist find my mind takes a turn for the worst. What’s a girl to do?!? Rip off the old stained upholstery, duh. Most chairs like these have screws or bolts holding the seat in place and the back had a row of stables along the bottom that secured the fabric.

There is probably a more sophisticated way to remove upholstery, but I use a flat head screw driver, needle nose pliers, elbow grease, and an occasional swear word. Sometimes you have to show old staples whose boss! It’s ME.
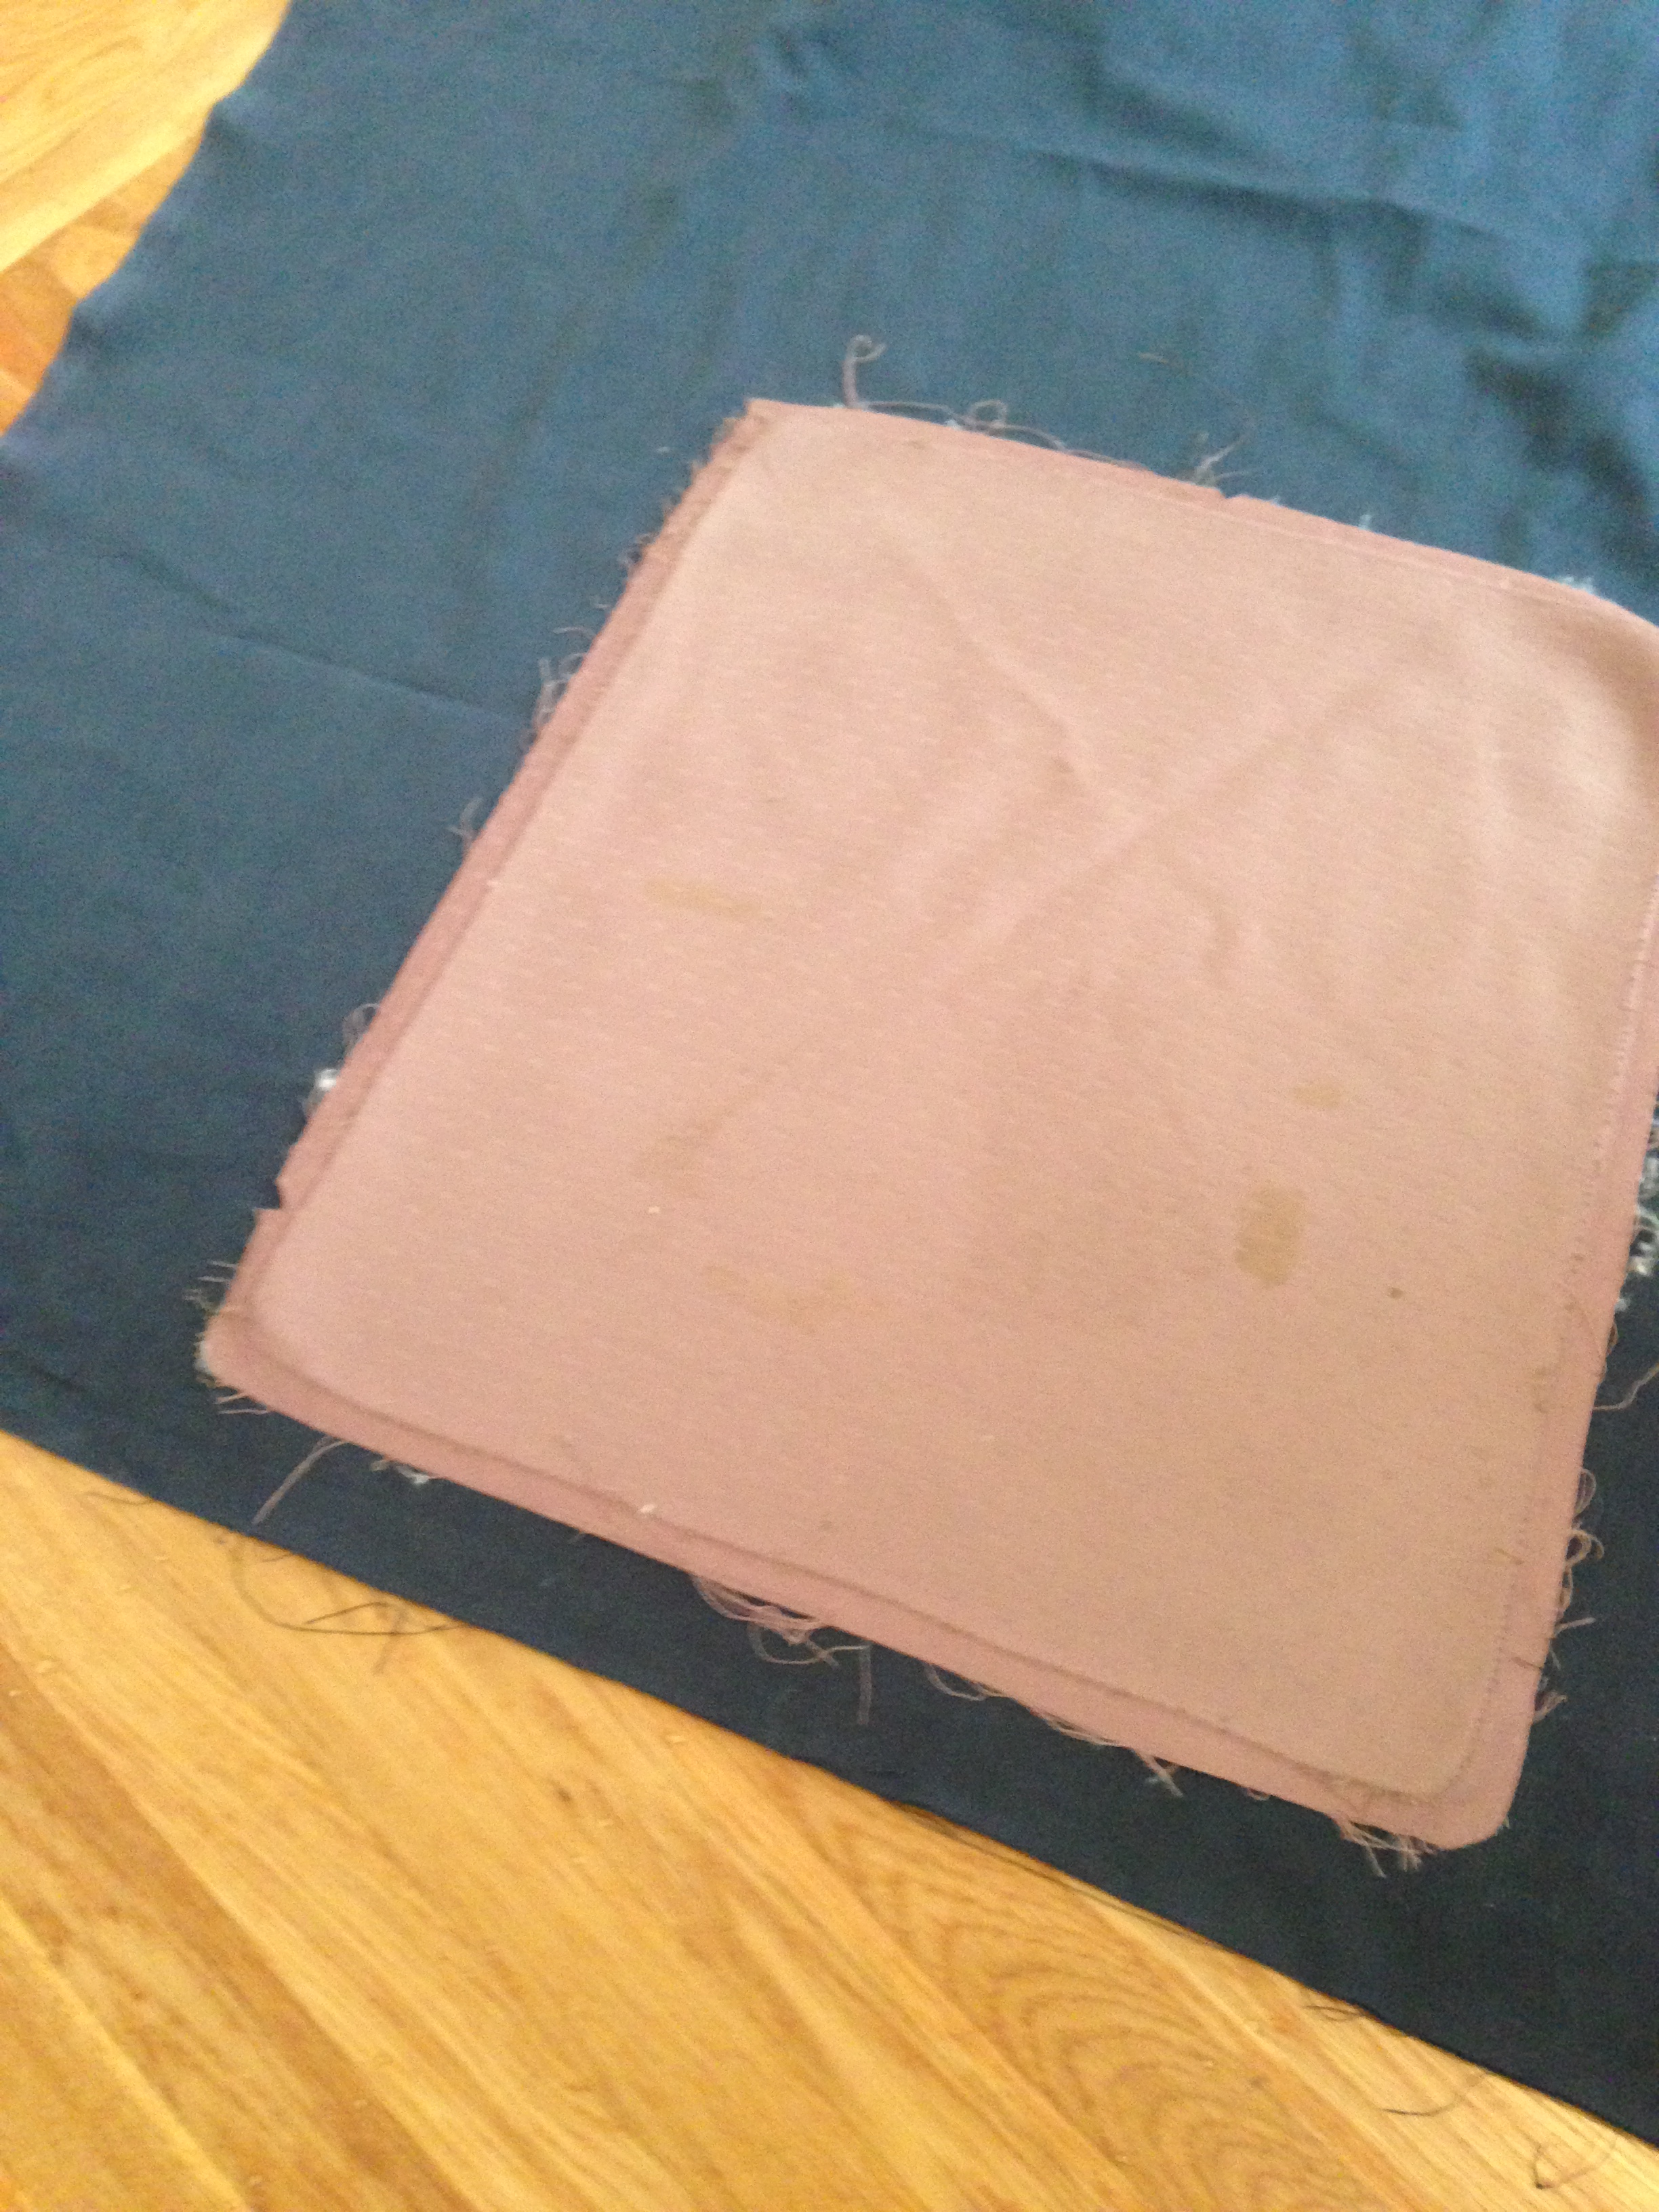
Once you have the fabric off use it as a pattern for cutting out your new upholstery fabric. Re-upholstering this particular chair is around an intermediate range for difficulty because it required sewing. Other chair cushions could just be removed, new fabric cut, then re-stapled. Don’t be intimidated, you can do this!

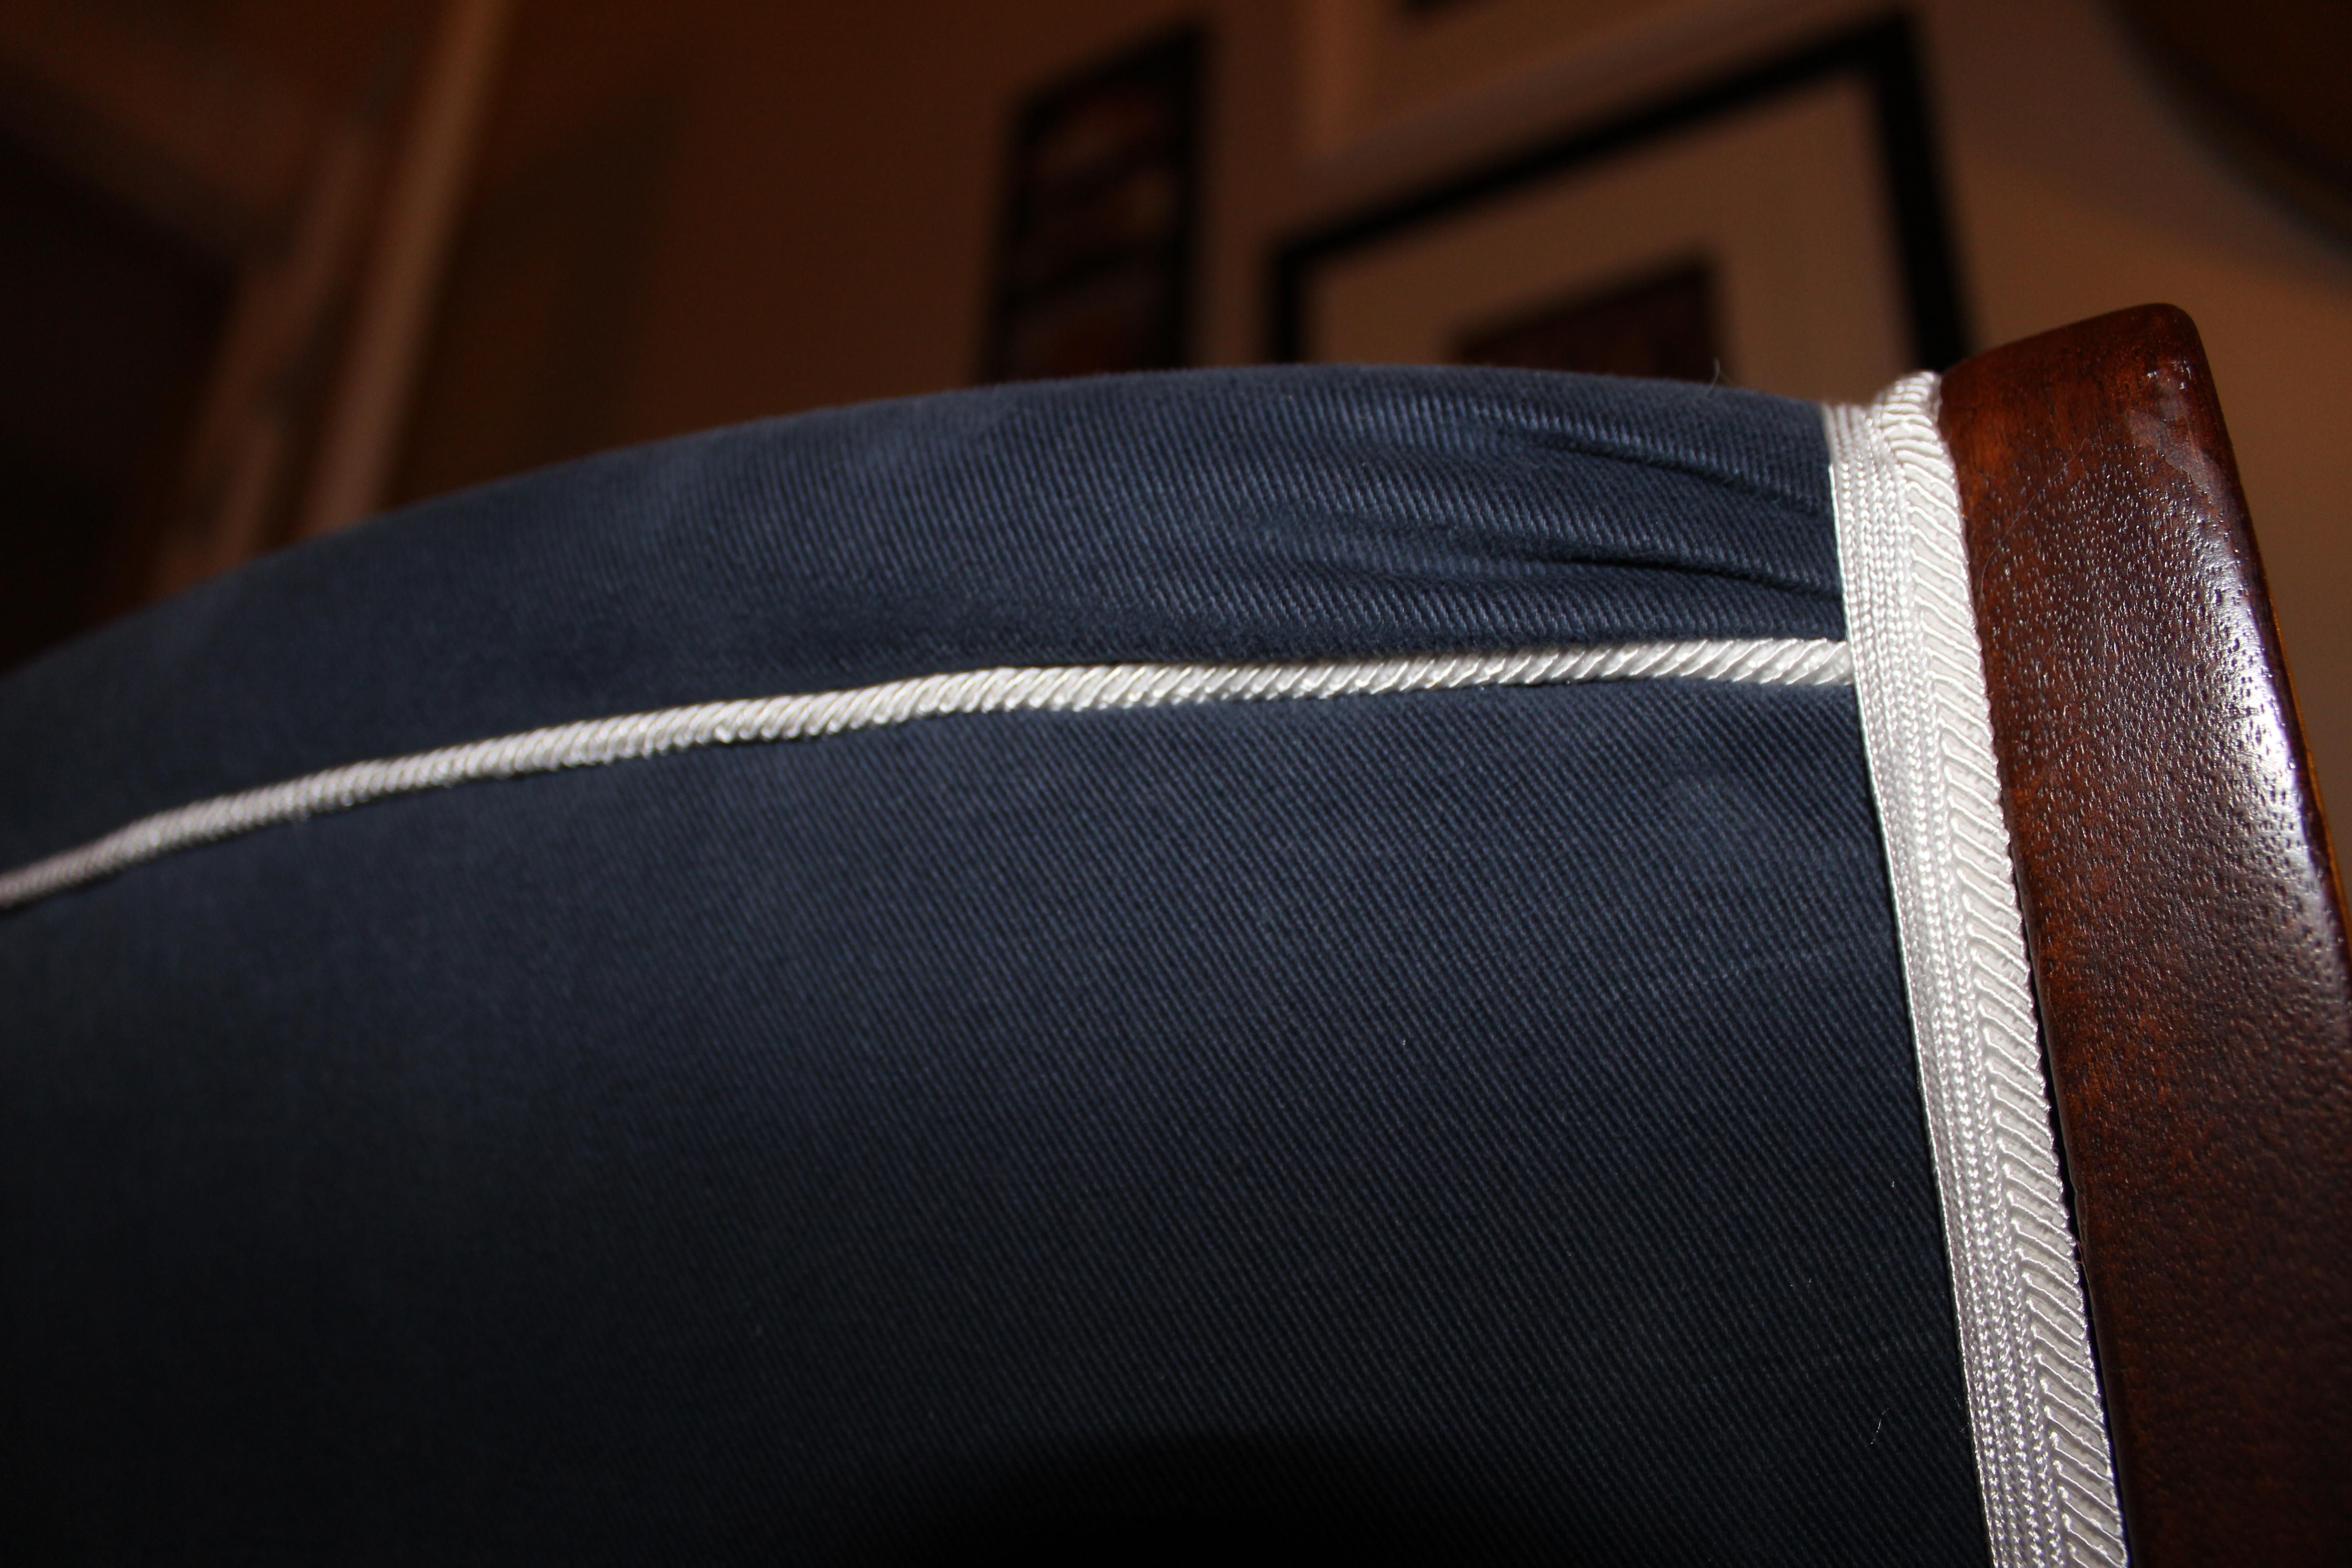
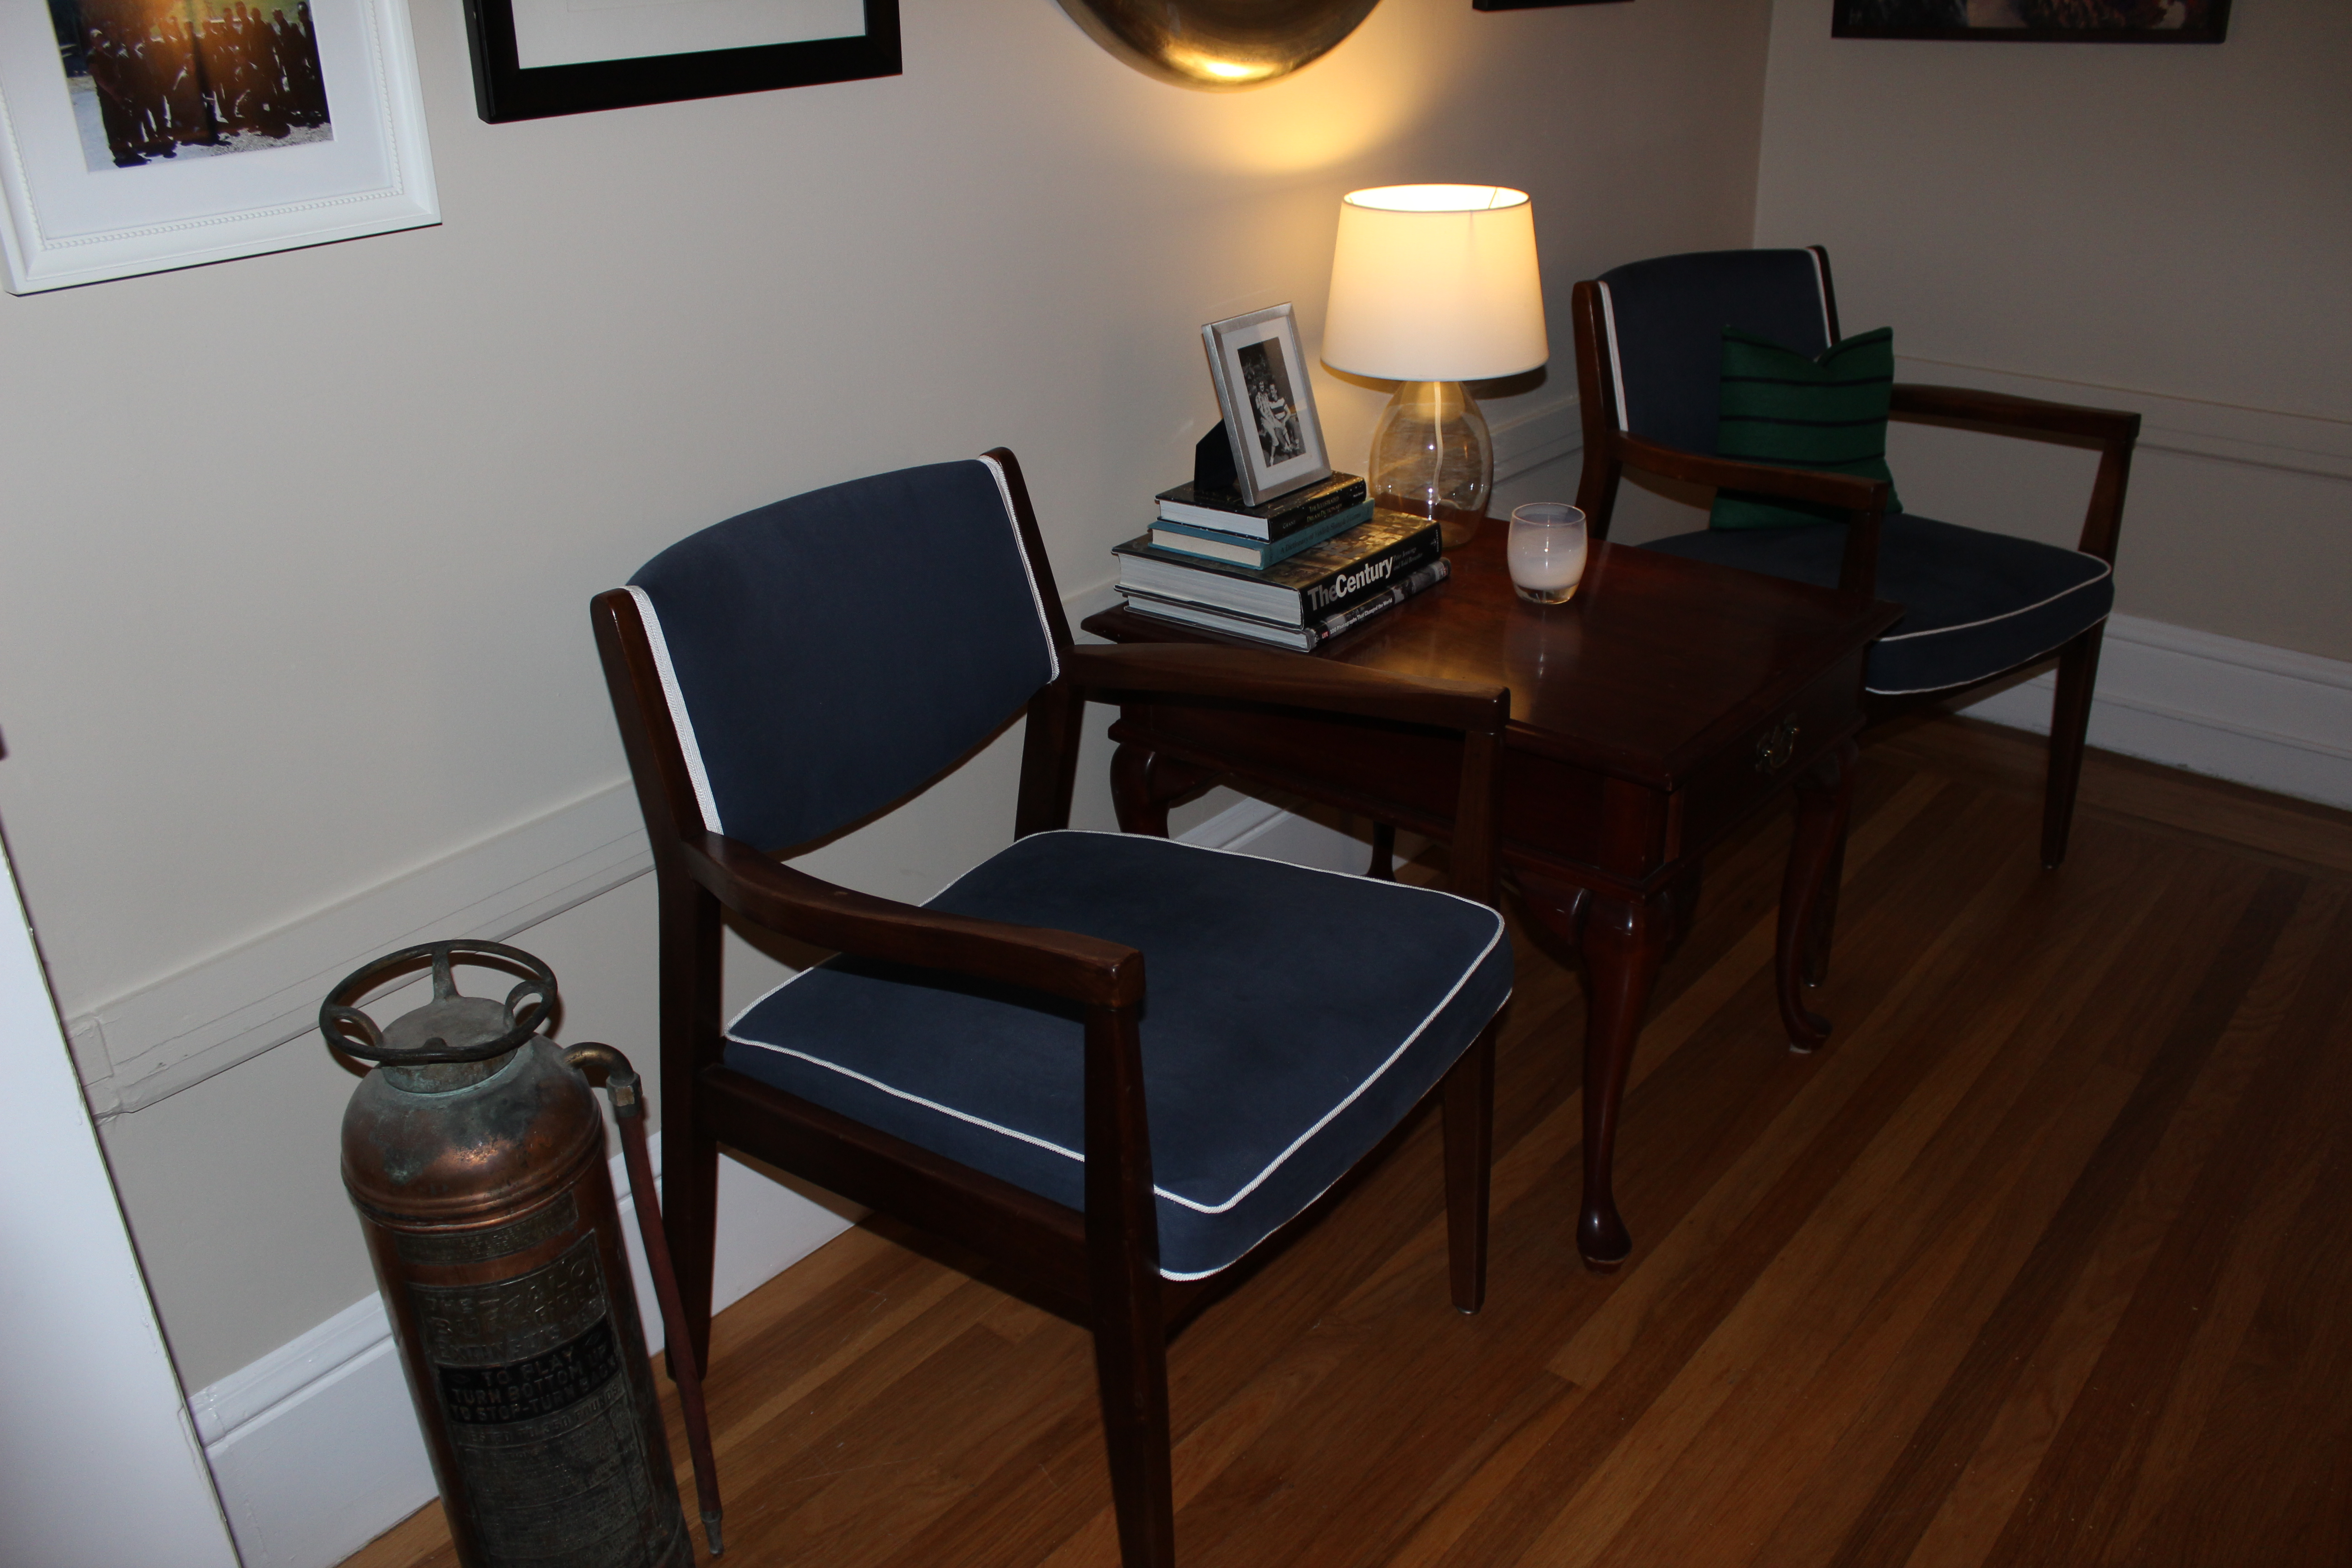
The navy fabric and white piping came from an amazing discount fabric store in my neighborhood. It’s called Fabrix, located on Clement and 2nd Avenue in SF’s Inner Richmond.
After cutting the new fabric I pinned and sewed the seat top to the long side piece with the piping in the seam. Then stretch the new cover over the cushion. Depending on the condition of your chair you can replace both the foam cushion, batting, and fabric or just the batting and fabric like I did.
Then comes the part where your muscles are needed. Pull the fabric tight, being careful to staple on opposite sides as you stretch the fabric. This will prevent any weird gathers or an uneven seam. (Also, save yourself possible heartache by not cutting your fabric too small. It can always be trimmed after you’re done stapling.)
The back of this chair was tricky since I don’t have professional grade upholstery tools… just a hand held stapler. I stapled the front piece of fabric to the back first, flipped it over then stapled to the underside. Then pulled the sides taught and stapled as close to the edge as possible. (This is where the professionals would have out done me.) I stapled a piece of the piping across the back then stapled the back fabric on top, flipped it back over the staples then secured it on the underside of the back rest.

To cover the stables down the side of the back rest I hot glued the piping. Not the most ideal solution, but absent any other brilliant ideas I went for it. I’m kind of an instant gratification type DIY’er.

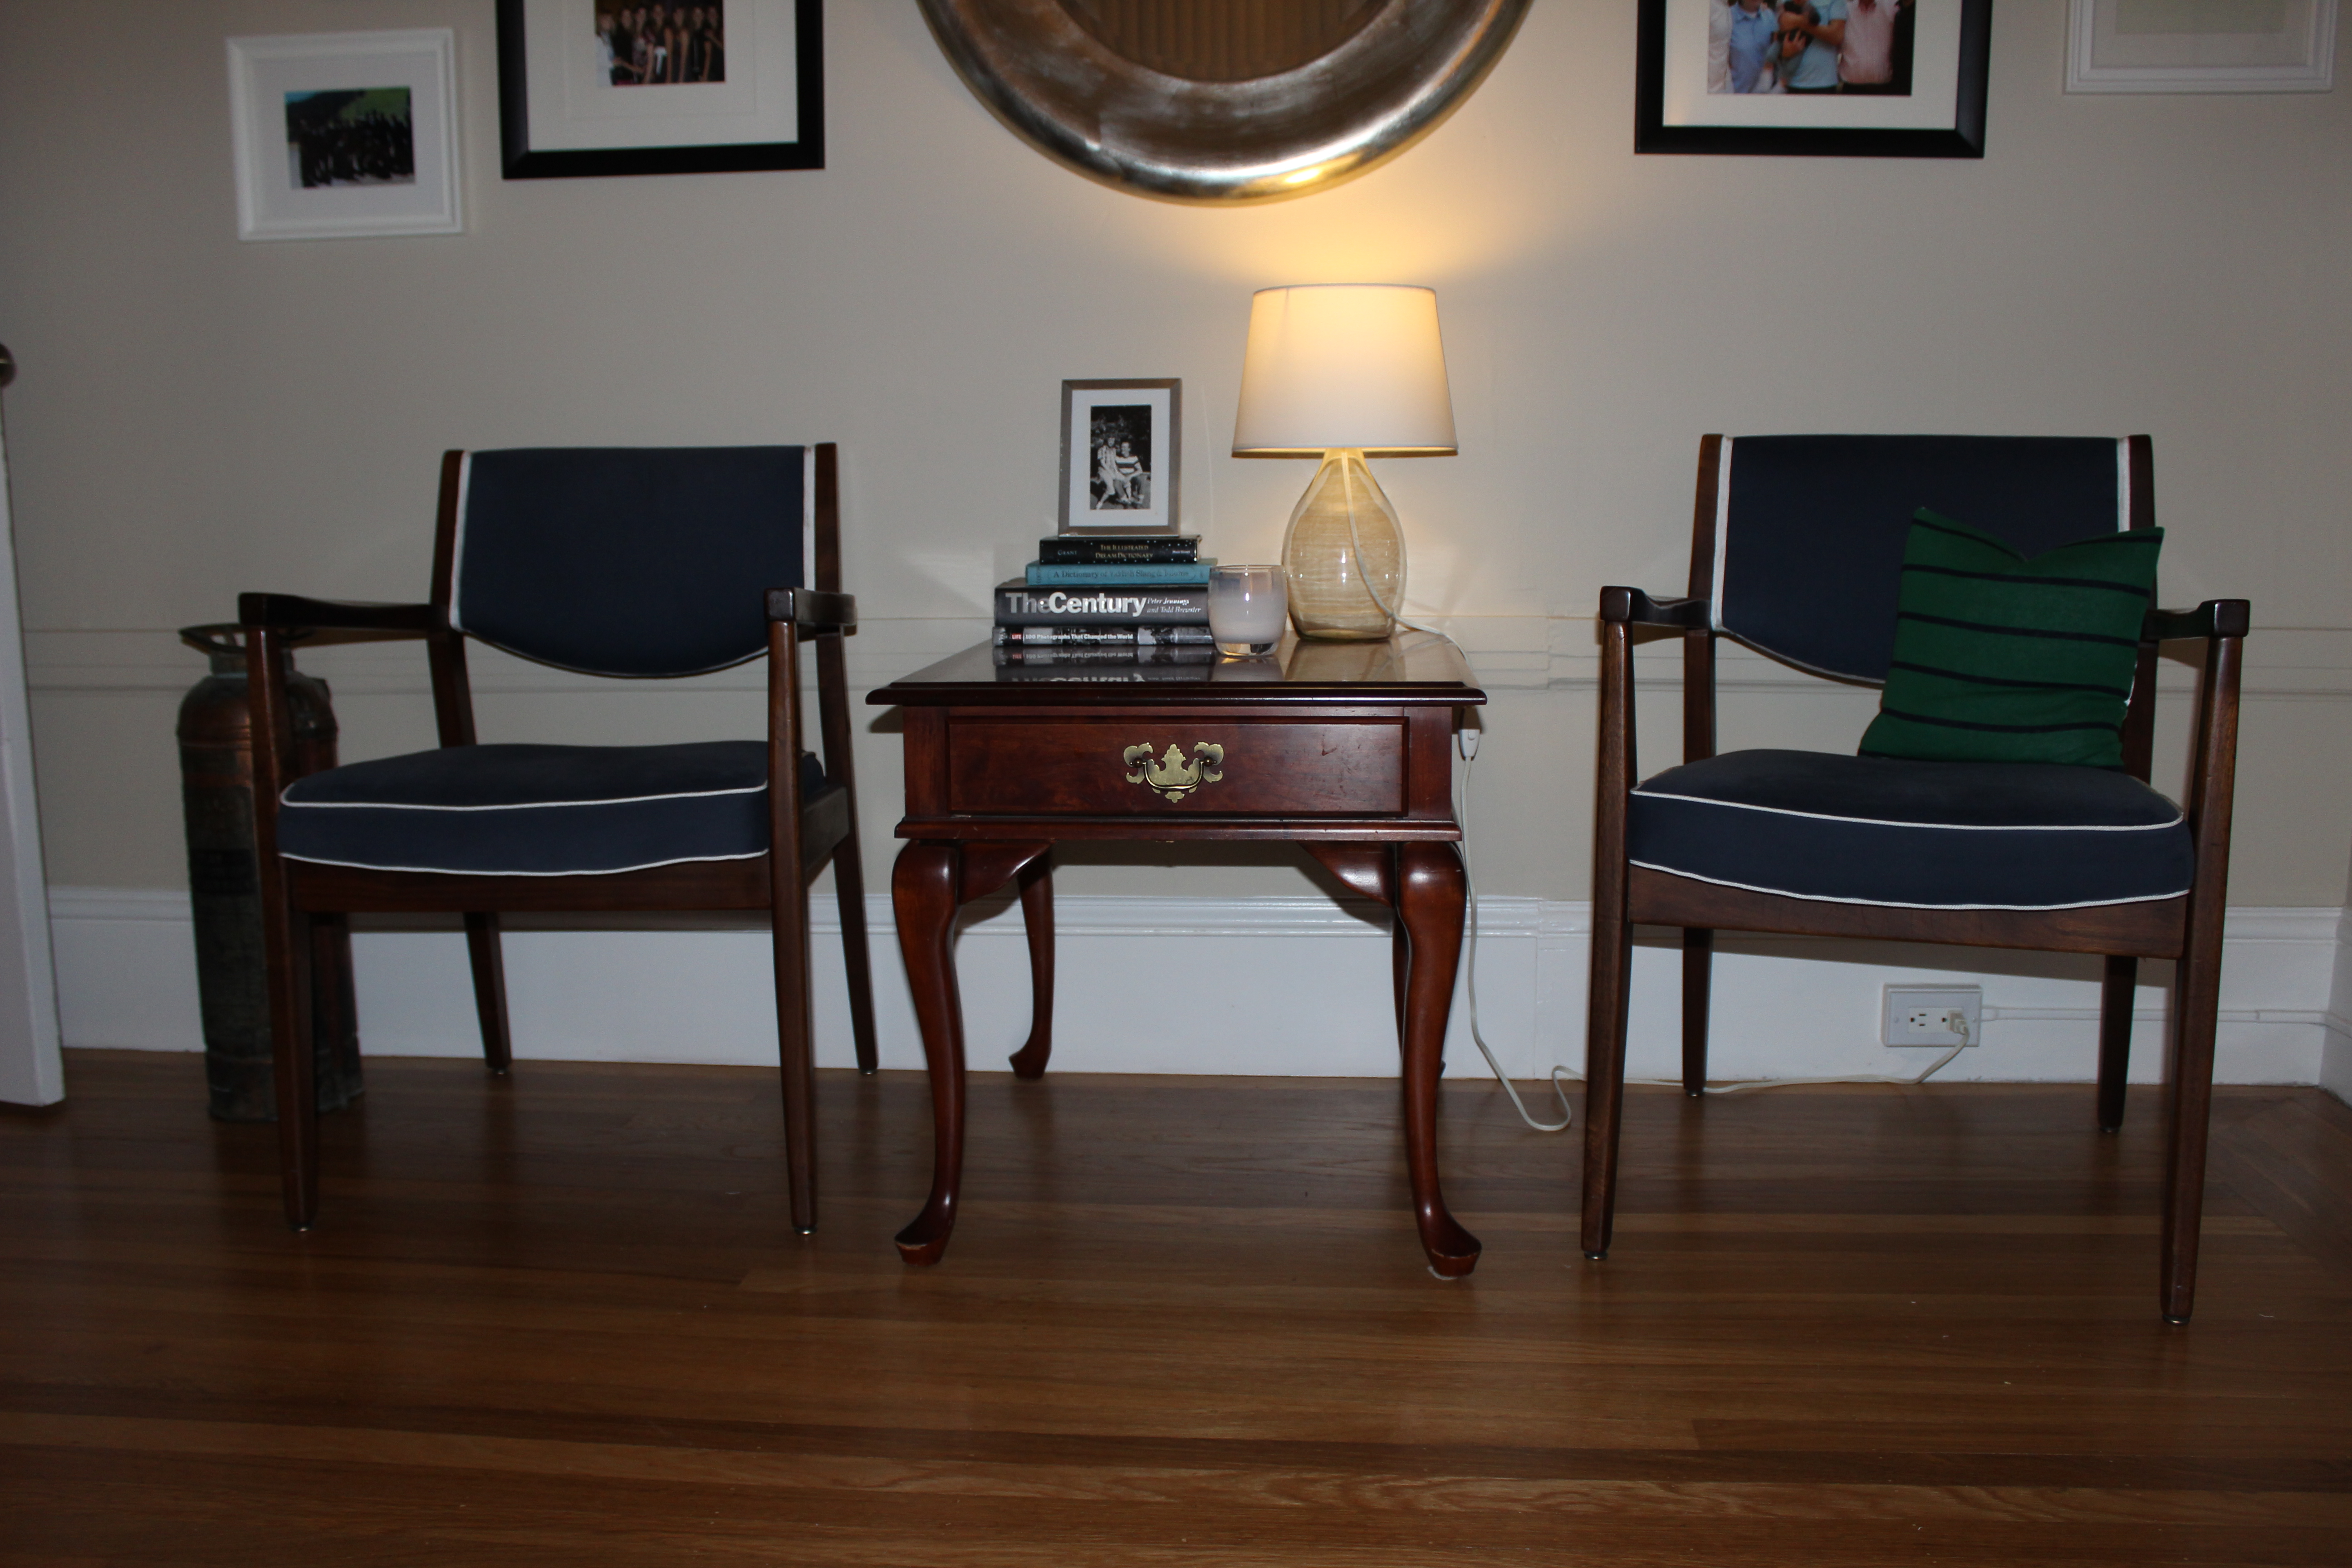
So here they are in all the mid-century glory. The contrast with the white piping and navy fabric does show the slight unevenness of my seam, but nobody is staring at the chairs for hours on end. Hopefully they’re sitting in them while conversing amongst friends! I may redo these chairs again someday. I love the classic shape and style that much. They would be fierce with a leopard print or maybe a bold floral. Perhaps it will happen when I need to take out my aggression on some old staples.
Man, those are some sexy chairs!